Feb 17, 2015
Happy Wednesday Everyone!
Finally! We got snow on the mid-Atlantic coast and a less pleasant gift of 7F temperature. We are expecting more snowy days – perfect, perfect day to stay home and do a few crafts.
If you are as crafty as I am, this will be an easy project for you. Craft stores are my second home, temple, going there on Sundays is as mandatory as church visits. Hence, if you show up at my house and I am not there, you can easily find me at Michael’s, JoAnn Fabric or A.C.MOORE searching for more items to carry out another project. I have to point out: my hubby is extremely supportive and constantly encourages me in my crafty endeavors.
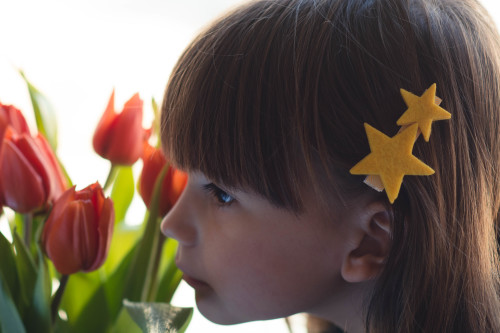
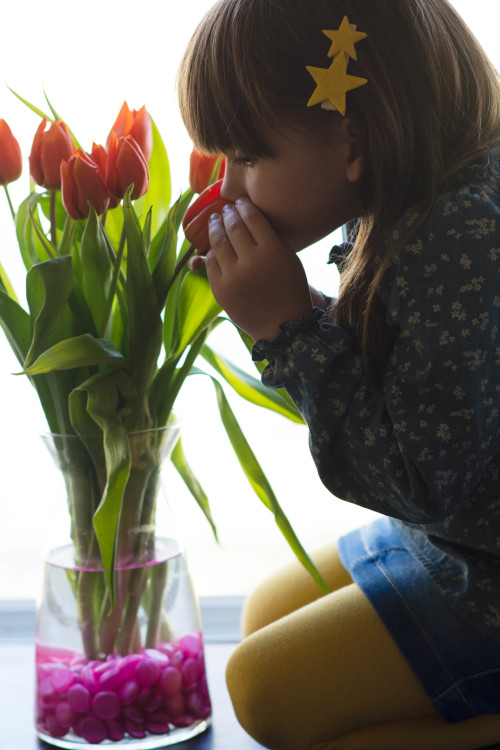
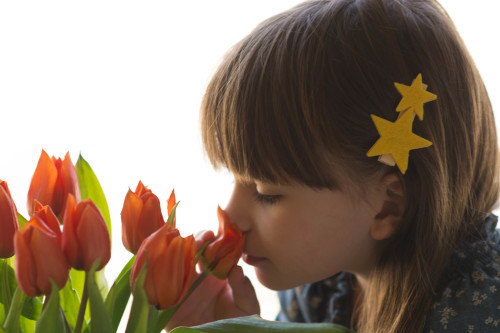
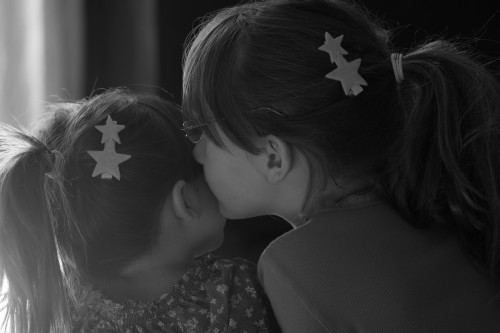
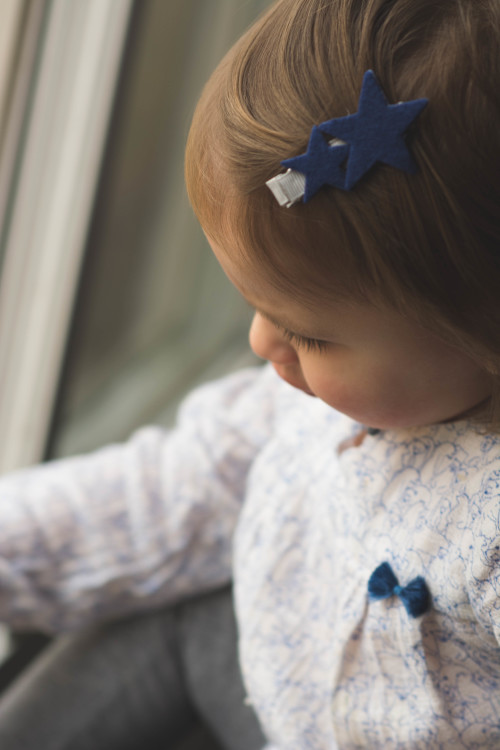
Since I adore little girls wearing hair accessories, this time I decided to give a try to felt hair pins with stickers. It is not my first experience with felt fabric though. I attempted to make hair pins before, with using a sewing machine. It came out really nice. However, it was very time-consuming and required lots of patience as well as precision.. Therefore, stickers is a quicker option – already cut, various colors and plenty of shapes to choose from. I am considering to make more of these beauties for Kaia’s upcoming birthday party, for all girls. It is so much fun to dress up girls and have accessories that match their outfits. I hope to provide as clear instructions as possible. All materials can be purchased at any craft store or online to which I provided links below.
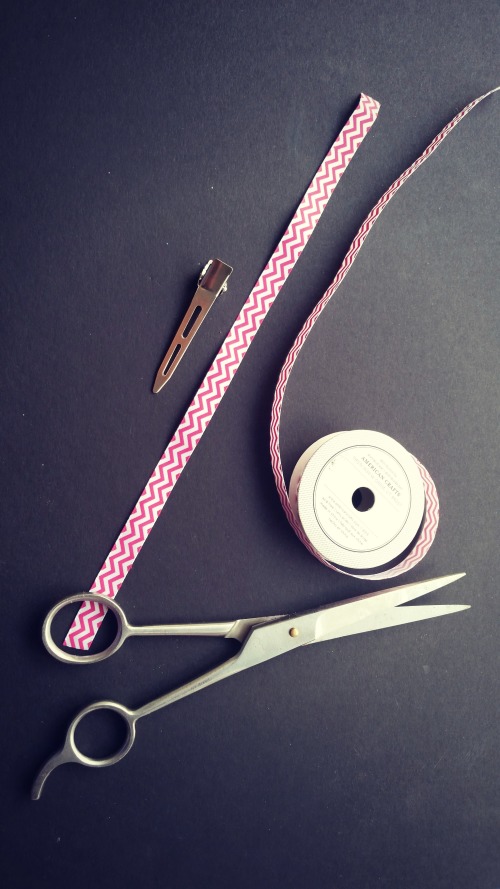
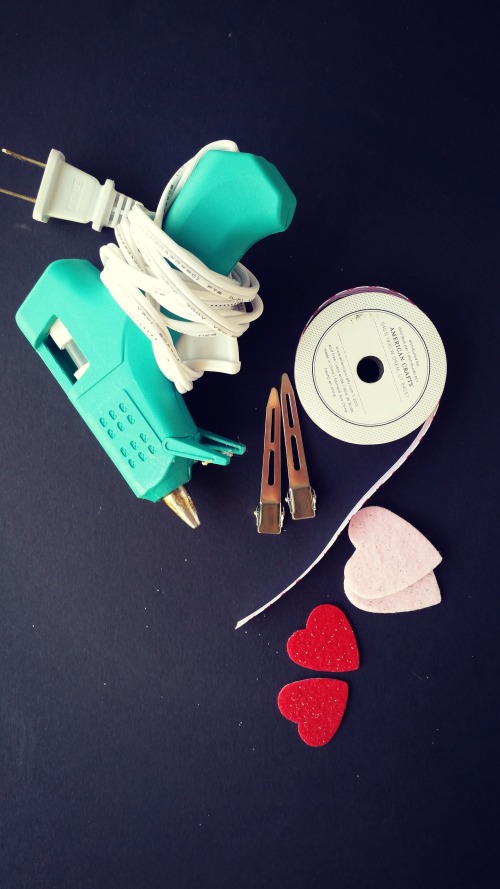
Here is what you will need:
- Pair of scissors
- Glue gun
- Satin ribbon (of your choice)
- Felt stickers (of your choice)
- Measure tape
- Hair clips
Once, you have gathered all necessary materials, it is time to get a little bit busy and artsy…:)
 Instructions:
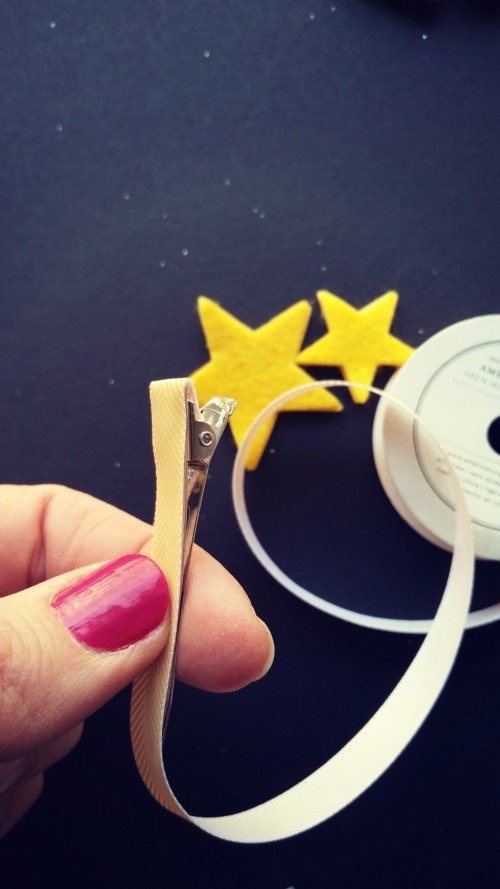
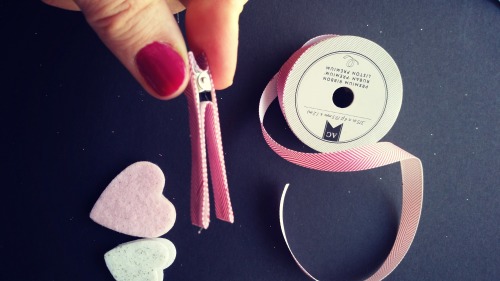
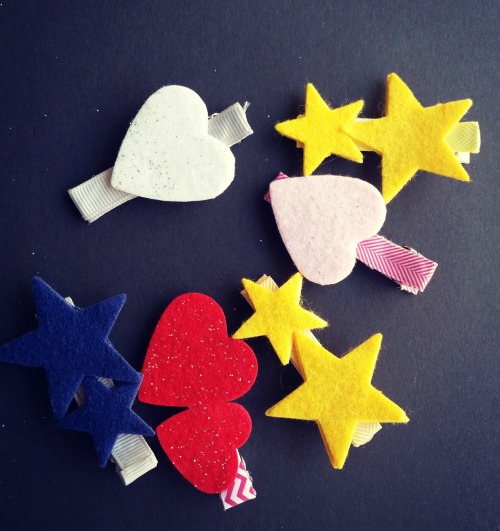
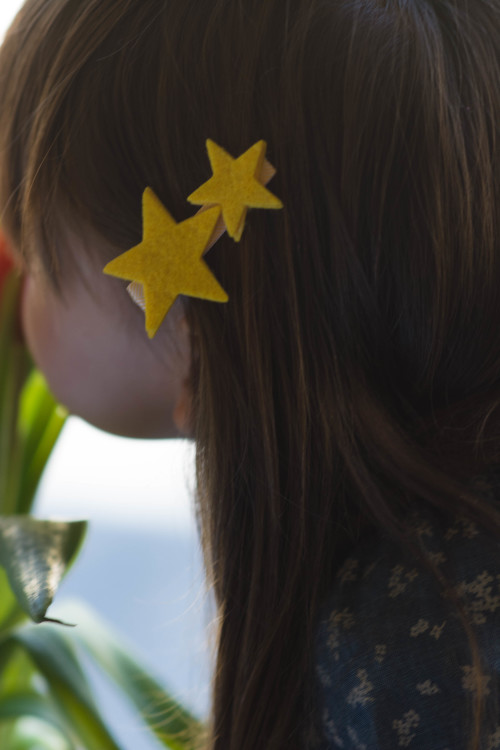
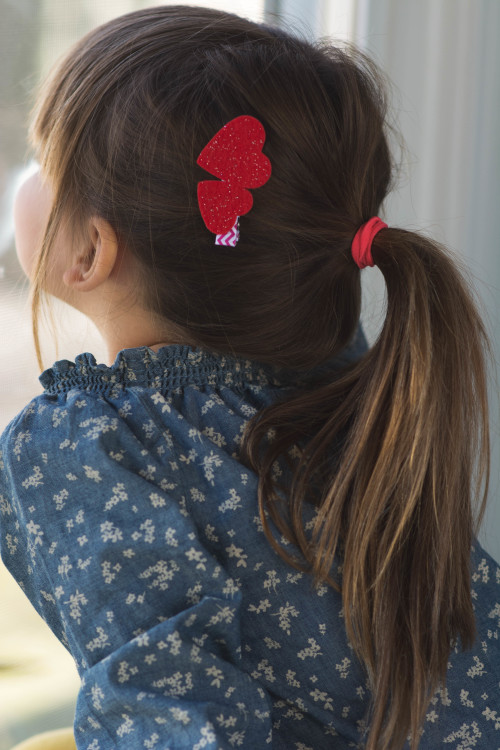
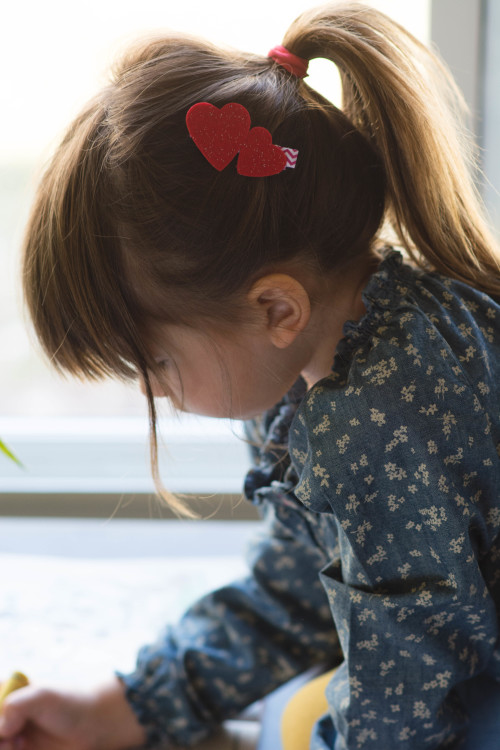
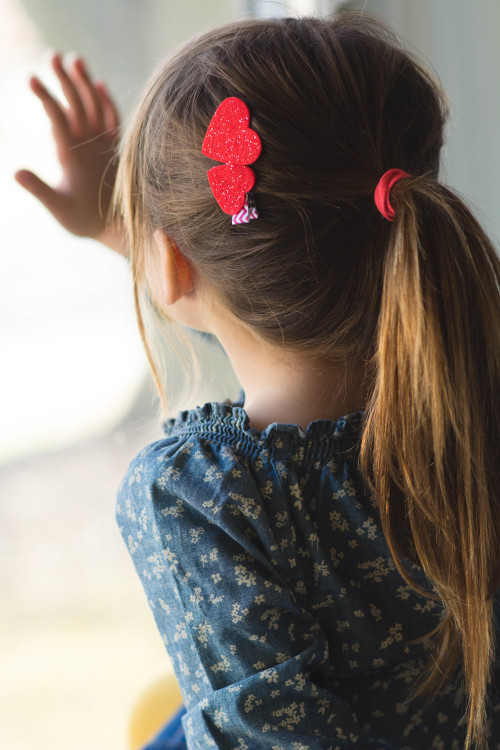
Cut 9 inches of ribbon. Place a small amount of hot glue on the left side of it (be extra careful! It is really hot, I burned myself a few times and that is why I use it when my kiddos are asleep). Start placing a ribbon with a glue at the beginning of the hairpin and keep pressing firmly, so the ribbon can be attached to the hairpin and continue wrapping the hairpin all the way around till all the 9 inch stripe is glued to the hairpin. Very good! Almost done! Choose your two stickers that have the same shape and stick them to each other, now choose one side of the stickers and put glue and place it firmly on the wrapped ribboned hairpin. Simply as that :). Now, your hair accessories are ready to use! They can also be a perfect gift for friends’ daughters or a craft project on a long, winter day.
Thank you for reading my post!!